
Do you want to greet your website visitors with a custom welcome message? When you add a welcome message, users feel it is personalized and help increase engagement on your website.
Just like how we greet anyone in person!
In this article, I’ll show you how you can add an announcement bar with a welcome message.
You don’t need to sign up for anything or do some complex steps.
Greet Users with a Message using the Announcer Plugin
I’ll be using Announcer plugin in this article to add a welcome message. It is a popular WordPress plugin to add notification bars and message bars in WordPress.
The free version of the Announcer plugin is sufficient to get this done.
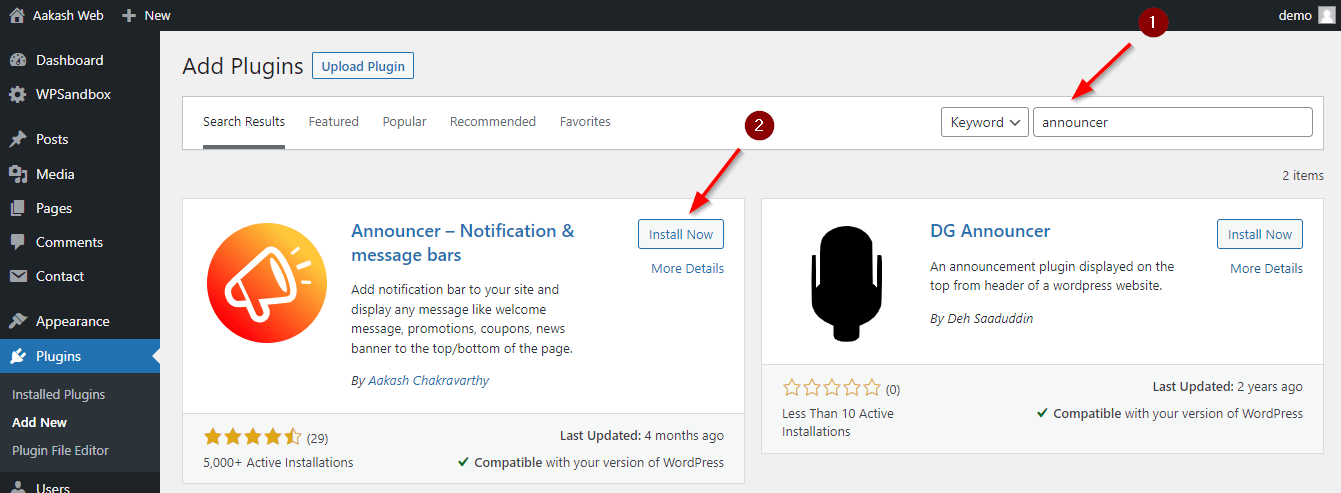
Go to your WordPress admin page > Plugins > Add new
Search, install, and activate the Announcer plugin.
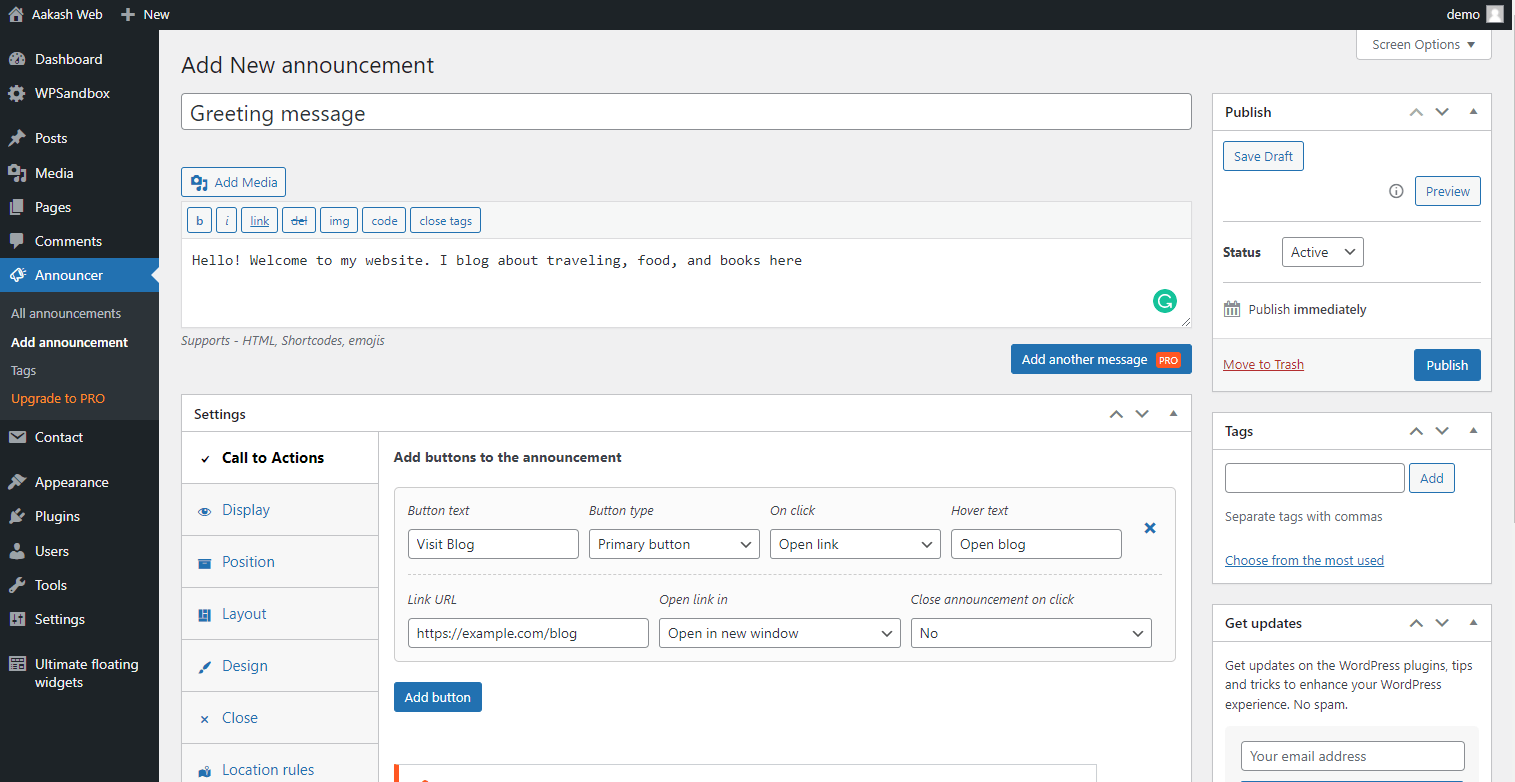
Navigate to Announcer > All announcements > “Add announcement”. You are now on the page where you can add/edit announcements.
Give a name at the top to identify the announcement from the admin view.
In the message box, type out the message you want to greet with. I’m going with “Hello! Welcome to my website. I blog about traveling, food, and books here”
My greeting message talks about my blog. So we can add a Call-To-Action button to help users visit the blog.
Under the “Settings” section, switch to the “Call-To-Action” section. Add a button, give a text to it like “Visit blog” and add a URL for the button.
You can also switch to the Layout tab and change “Content alignment” to “Center” to position the message in the center.
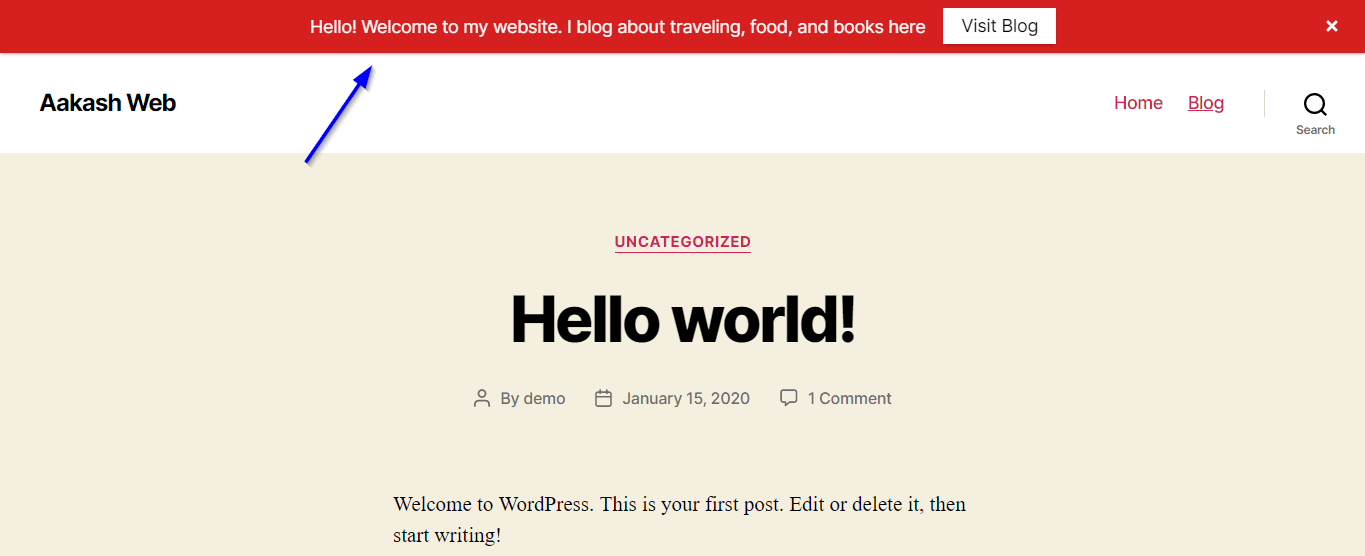
Hit publish to save and publish the greeting message announcement. Visit your website to see it in action.
Keeping the Welcome Message Closed
Now that we have displayed the greeting message, we don’t want to show it multiple times after the user has read and closed it.
The announcement must remain closed as-is.
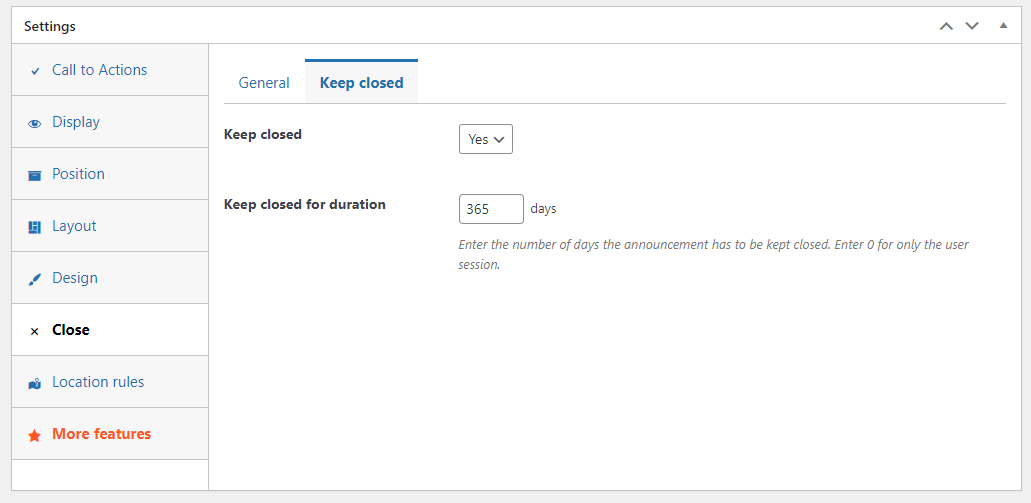
To get this configured, go to Close > “Keep closed” tab and set “Keep closed” to “Yes”. For “Keep closed for the duration” enter the number of days for example 365 days to keep it closed for 1 year.
That’s it! We have added a greeting message to your website in just a few minutes.
Greeting the Visitor only Once
As of now, the welcome bar remains in a closed position only when users click close.
What if you want to display the message based on the number of times the user has visited the website? This way, the announcement is automatically not displayed when the user has visited the site multiple times already.
To configure this you need the Announcer PRO plugin. It has the “Visitor conditions” feature where you can configure a rule for this.
To get this done, get the Announcer PRO plugin. Download and install the plugin
Switch to the “Visitor conditions” tab and add a new rule “No of times a user viewed site is”, “lesser than”, “5 times”
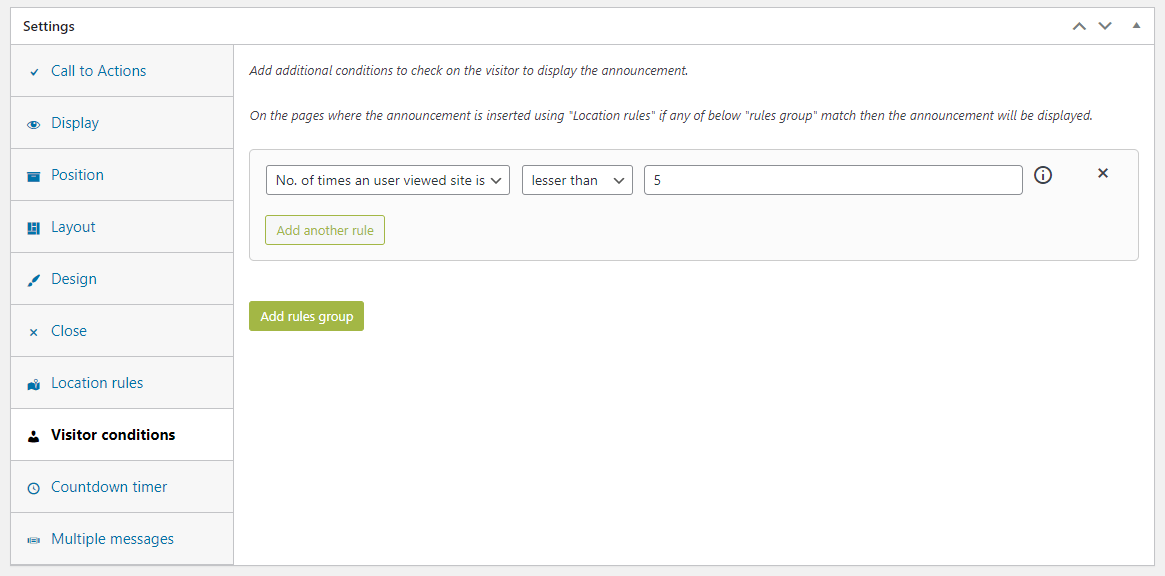
Now the announcement will be shown only when the user has visited your website only 5 times.
Conclusion
In this article, we saw how easy is to add a welcome message.
We also leveled up by adding more features to keep the welcome message hidden and to show it based on the number of visits.
If you have any comments, please do share them in the comments section below.
Add your comment No Comments so far