Often times you may want to tweak your WordPress site. Sometimes plugins might not be needed when simple WordPress APIs like actions and filters can get it done. There are multiple methods to add custom PHP code to WordPress.
I have discussed all the methods available in my article Why site-specific WordPress plugin is the best method to insert custom WordPress code?
In this article, I’ll show you how to create a site-specific plugin where you can easily add and manage custom code.
Step 1 – Creating the plugin
Create a folder on your computer anywhere. Give it the name of the plugin you want without any space. For this example, we will name the plugin “my-site-plugin“. This will be the name of the folder.
Now, inside the folder, we must create the main plugin file. Open a text editor of your choice.
Paste the code below. Make sure there are no empty spaces before and after the code.
<?php
/*
Plugin Name: Site Plugin for example.com
Description: Site specific code changes for example.com
*/

/* Start Adding Functions Below this Line */

/* Stop Adding Functions Below this Line */
?>
In this code,
- “Site Plugin for example.com” is the name of the plugin you will see on the “Plugins” page of WordPress. You can change that as you like.
- Similarly, “Site-specific code changes for example.com” is the description for the plugin to be seen on the “Plugins” page.
Save this file inside the folder we created. Give it any name you like. Make sure the file ends with “.php”.
We will name this file my-site-plugin.php
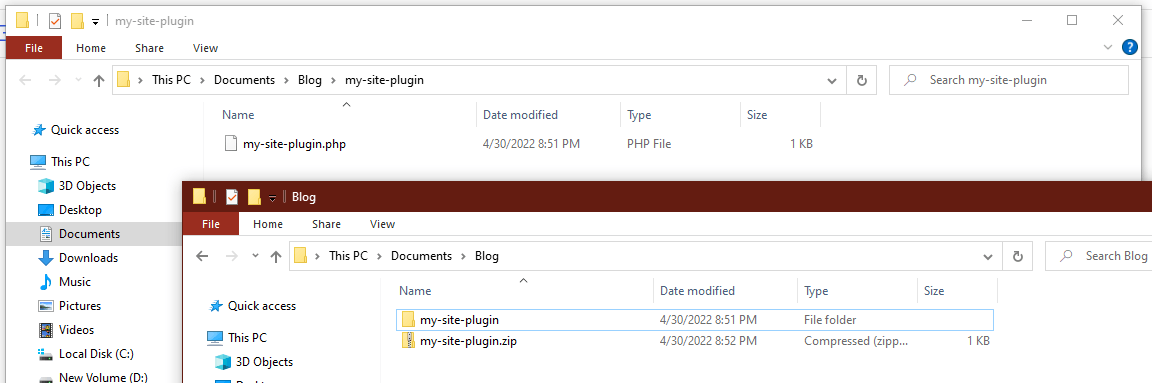
Now, compress this folder to a zip file. You can right-click and select “Send to compressed folder” or use any compression software. But make sure you create a “.zip” file.
That’s it! We have created an empty plugin with a name and description.
Step 2 – Uploading and activating the plugin on your website
To upload the plugin to WordPress go to Plugins > Add new. Click “Upload Plugin”.
Now, select the “.zip” file we created and upload it.
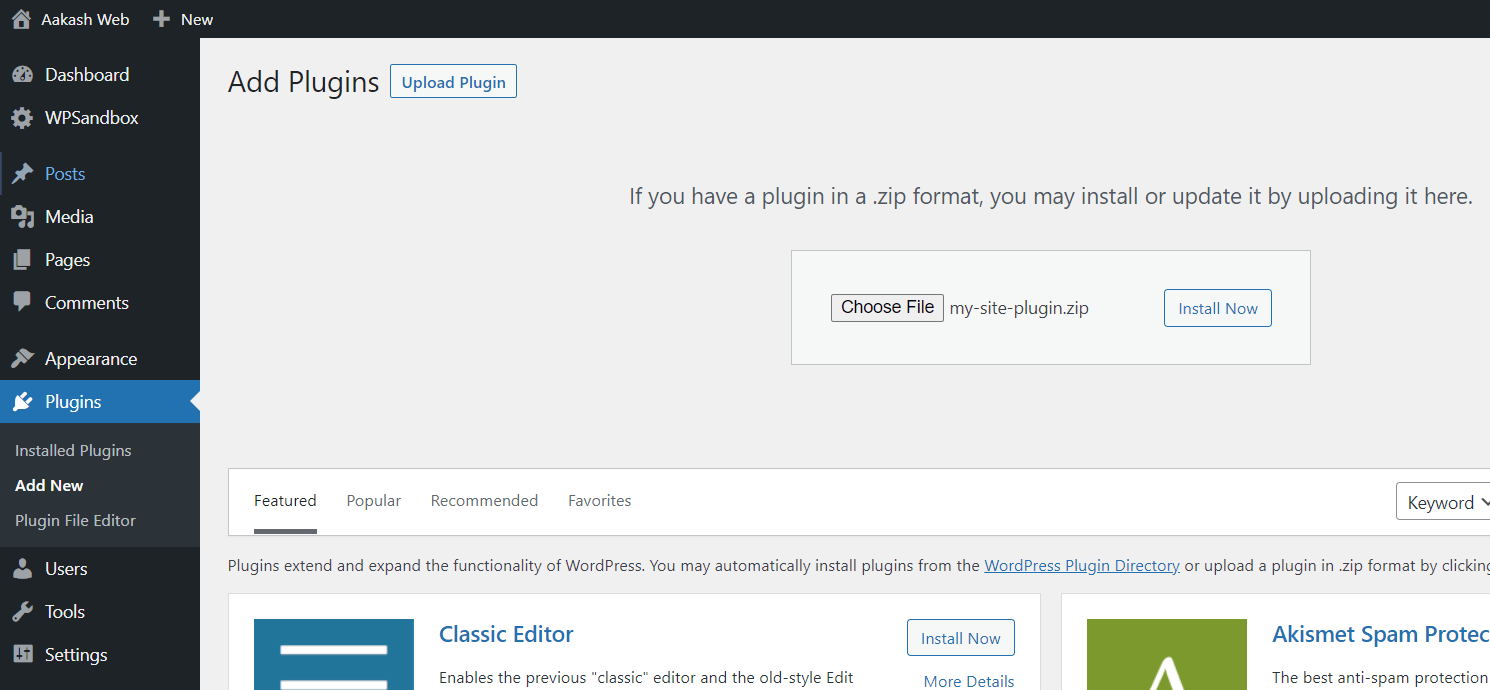
After uploading it, install and activate the plugin. You can now manage the plugin under the “Plugins” page i.e you can activate, deactivate and delete it just like a normal plugin.

Step 3 – Adding custom code to the site-specific plugin
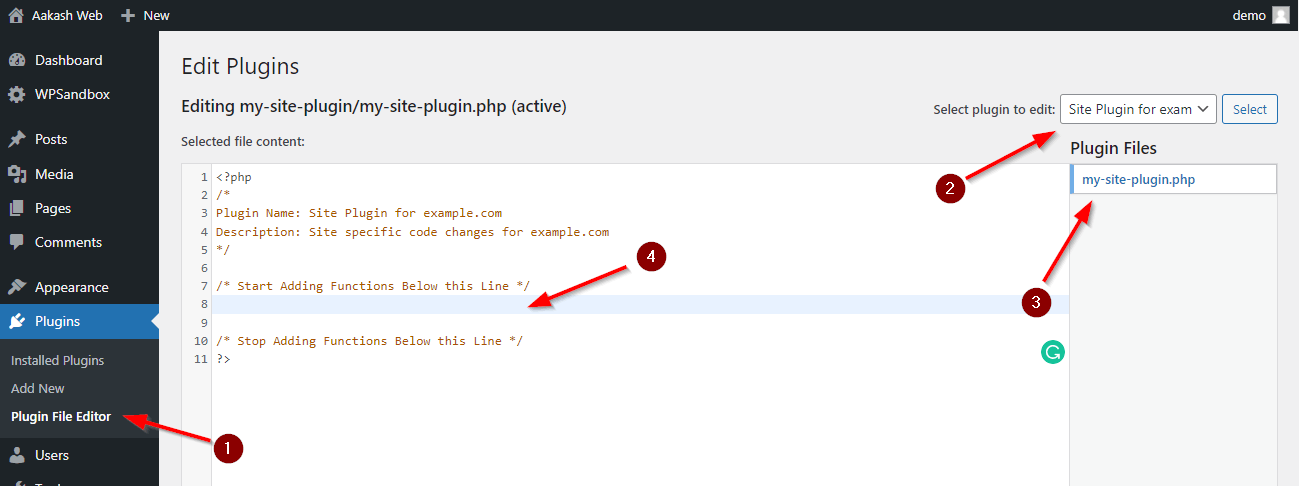
In order to add custom code to the site-specific plugin, head over to Plugins > “Plugin editor” page.
Select the plugin and the file we created from the dropdown menu.
You will now see an editor on the left where you can see the contents of the file. As you may guess, you need to paste your PHP code into this file.
Note
Always deactivate this (or any plugin) site-specific plugin before editing. This is just to protect your site from going down in case the code has syntax errors.
After making the edits, you can activate the plugin. WordPress will catch the error during activation so you are safe here.
When adding your custom PHP code, make sure it is inserted between <?php and ?>.
That’s it.
Now save your file, and activate the plugin. The custom code will be active on your website.
Conclusion
We hope this article helped you learn how to create and use a site-specific plugin on your WordPress site.
If you have any comments, please share them in the comments section below.
Add your comment No Comments so far